The China Dish guides
Hand Building Pottery: Pinch, Coil and Slab Forms
Hand building pottery forms clay directly with fingers and tools: a hollow can be pinched from a lump, a wall raised with coils, or a body assembled from flat slabs.
These methods shape the clay without throwing it on a potter’s wheel. A round teapot can begin as a sheet of clay.
The wall is a useful place to begin. Following how it takes shape makes the three methods easier to distinguish, including the tools they share with other ceramic work.
An example from Yixing then connects the flat clay sheet to a rounded vessel, before we turn to molds and firing.
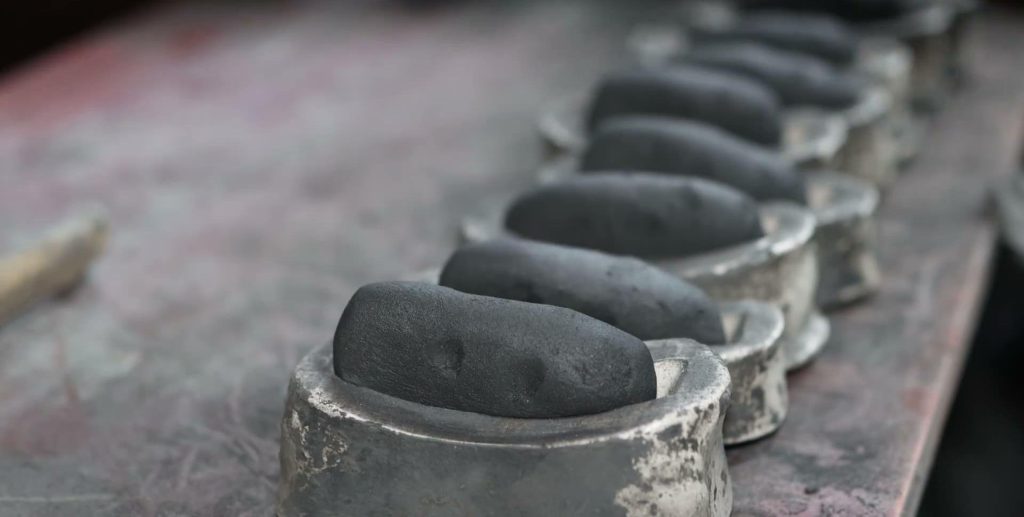
A few details to notice
Look a little closer.
Read the object account and sources ↘
Read the object account and sources ↘
01 / A closer look
How can a wall grow by hand?
- Pinch
- Coil
- Slab
Pinching begins with a lump of clay; coiling adds separate lengths. Both methods shape a hollow body through direct hand work.
Pinching and coiling: raising pottery walls by hand ↗
From the referenced guide section and its sources.
02 / A closer look
What does a clay slab offer?
Flat sheets can be cut and joined to enclose space. A round vessel can begin with a sheet of clay.
Slab building: joining pottery from flat clay ↗
From the referenced guide section and its sources.
03 / A closer look
Does a turntable mean wheel throwing?
A turning stand can bring a surface within reach during hand work. Its presence alone does not identify how the wall was formed.
Why a handbuilt pot can sit on a turntable ↗
From the referenced guide section and its sources.
Making
From a shaped clay wall to fired pottery
Forming, drying and firing are separate stages. The clay body and its firing requirements need to be considered together.
- 01Form
Pinch, coil or join slabs
- 02Dry
Let moisture leave the shaped body
- 03Fire
Turn the dry clay form into ceramic
01 / The guide
Pinching and coiling: raising pottery walls by hand
Pinching and coiling raise a wall from different starting pieces: a single lump for the pinch pot, and separate ropes for the coiled body.
Methods can meet within the same vessel. At Emory University’s Carlos Museum, ceramic artist and educator Ana Vizurraga uses pinching and coiling to explain a Makonde water vessel made with both techniques. A pinched beginning and a wall continued with coils give one object two related forming histories.
Pinching a hollow from a lump of clay
A pinch pot begins with a ball of workable clay. The thumb presses an opening into its center, and pressure between thumb and fingers thins and raises the surrounding wall as the piece turns in the hand.
The hollow and the outside develop together. A finger on one side has a thumb on the other, so thickness is part of the shaping action. The outline can remain softly modeled or receive further refining.
Coiling a pottery wall from separate lengths
Coiling starts with elongated ropes of clay laid and joined in successive courses. Each course adds to the height and outline of a vessel or sculpture. Once they’re joined, the coils belong to a continuous wall.
A potter can leave the rounded coils visible or work their surfaces together more completely. You won’t always be able to identify the starting method by looking for ropes on a finished pot.
02 / The guide
Slab building: joining pottery from flat clay
Slab building begins with clay flattened into sheets, each with two broad faces and a thickness, so the potter must work out which surfaces will become the inside and outside of an object.
The sheets can bend into curved walls or meet at corners. Paper templates can establish the outlines before cutting.
Where slabs join, a common studio method scratches the meeting surfaces and brushes wet clay slip onto them before bringing the pieces together. This is called scoring and slipping. The roughened faces and added slip belong to the joint between pieces that already have shape.
A supporting mold offers another way to work with a sheet. Draping clay over a form or placing it inside one gives the soft slab a surface to follow. The maker still handles the sheet, shapes its edge and resolves its joins.
The slip at a slab joint isn’t the same forming operation as slip casting. Here, the wall begins as a sheet; in casting, it develops from liquid clay inside the mold. The material at the seam shouldn’t obscure that difference.
A slab-built body can also carry a pinched rim or a coiled handle. Looking at those parts separately makes room for several techniques within one piece, rather than asking a single label to explain every part.
For more on the regional tradition, see Yixing clay and teapots.
03 / The guide
Why a handbuilt pot can sit on a turntable
The clay pieces still need to be reached from different sides, which is why a handbuilt pot can sit on a rotating stand called a banding wheel, letting the maker approach its surface. The stand’s presence alone doesn’t explain how the wall was first made.
Wheel throwing uses the turning clay as part of forming the vessel. A banding wheel can instead carry a body whose wall already exists, allowing work around its circumference.
Both arrangements rotate an object, but rotation has a different job in each. The action on the clay makes the distinction clearer than the equipment’s silhouette.
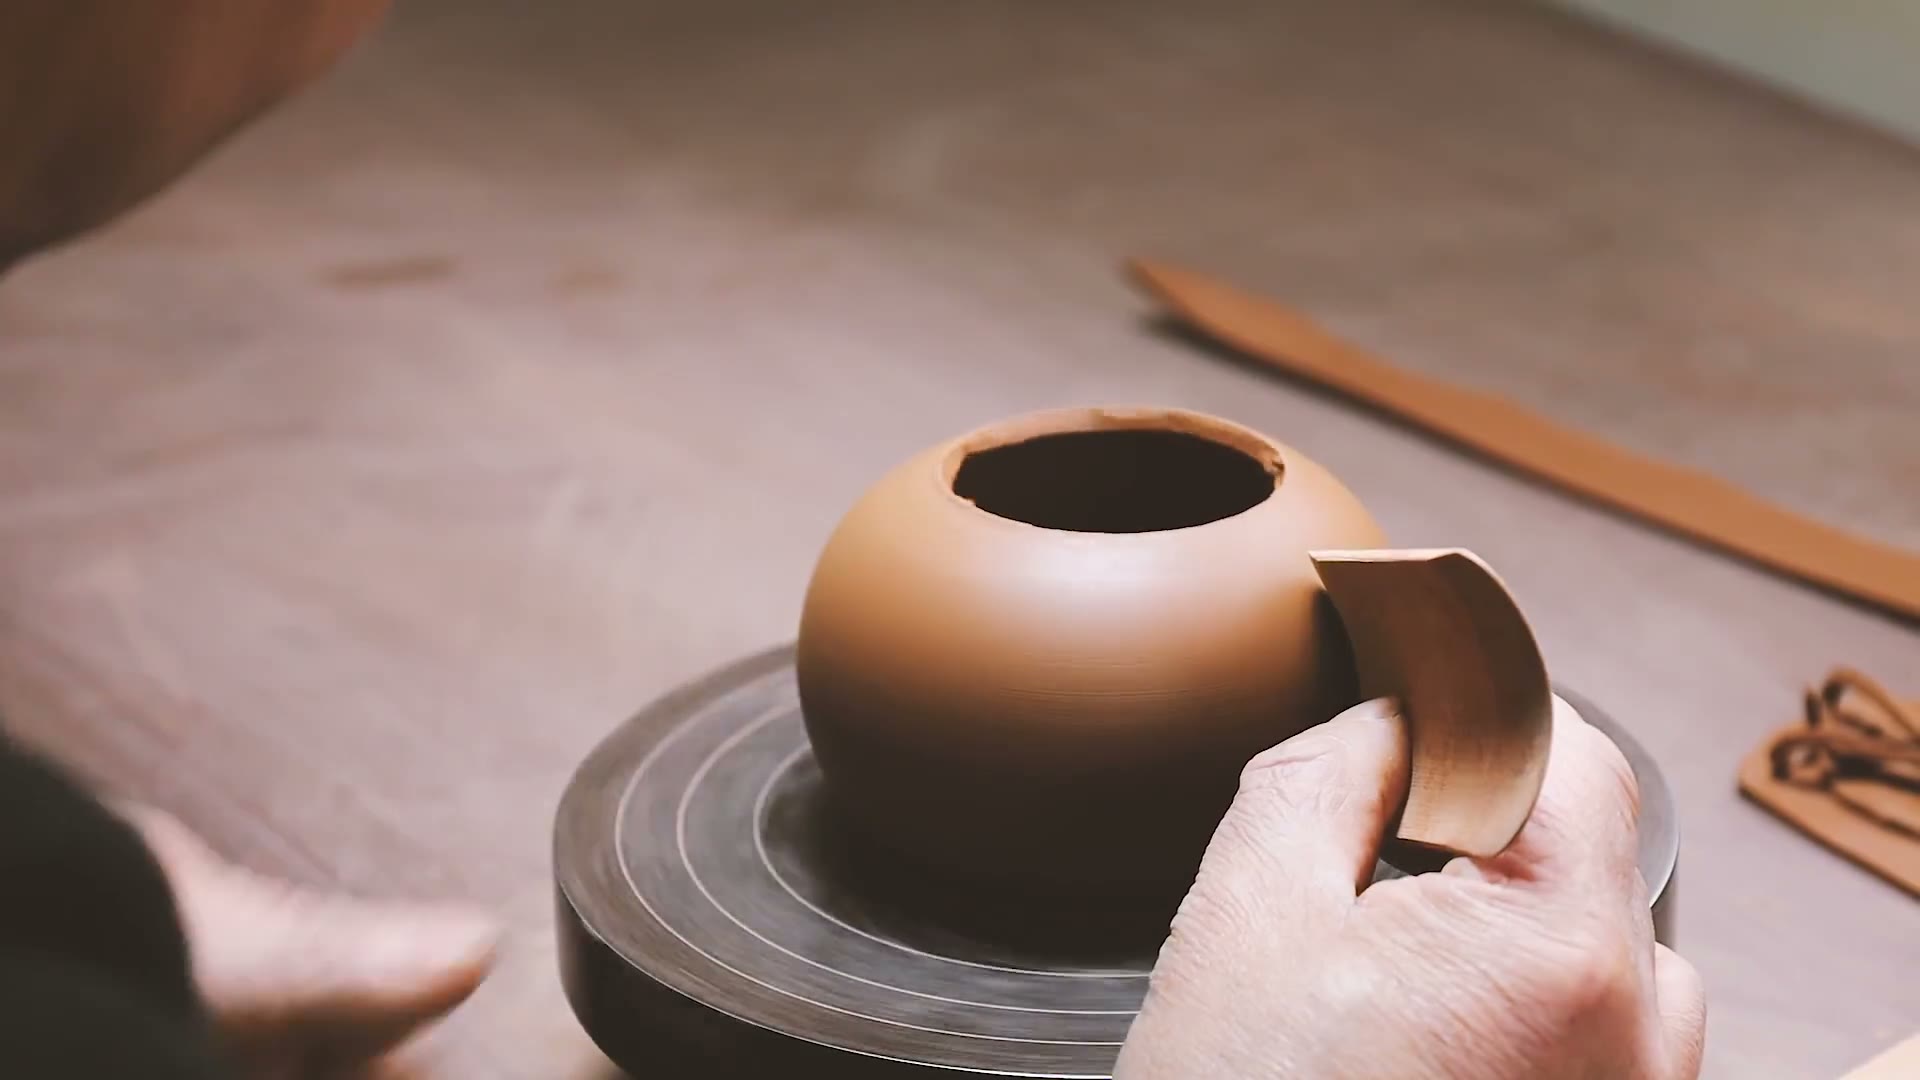
In the rounded clay body below, the opening and shoulder are already present. A curved tool meets the outside while a hand supports the tool, with a circular stand beneath the piece. The useful visible detail is that contact with an established wall.
The museum guide in me wants to follow the hand and tool as closely as the finished outline. Here, I’d ask what they’re changing: the wall’s height, its curve or its surface. A round pot gives you more to look at once you can follow the work on its wall.
04 / The guide
Slab building and rounded bodies in Yixing pottery
Yixing teapots offer a rounded wall made through direct construction. In this tradition from Jiangsu, China, prepared clay becomes slabs before makers build and refine the body. The familiar teapot can begin with a flatter shape.
China’s national intangible heritage account distinguishes rounded bodies shaped by beating from angular bodies assembled by joining sections. It also describes forms that combine joining with sculpture. Curves, meeting faces and modeled additions have different paths into the vessel.
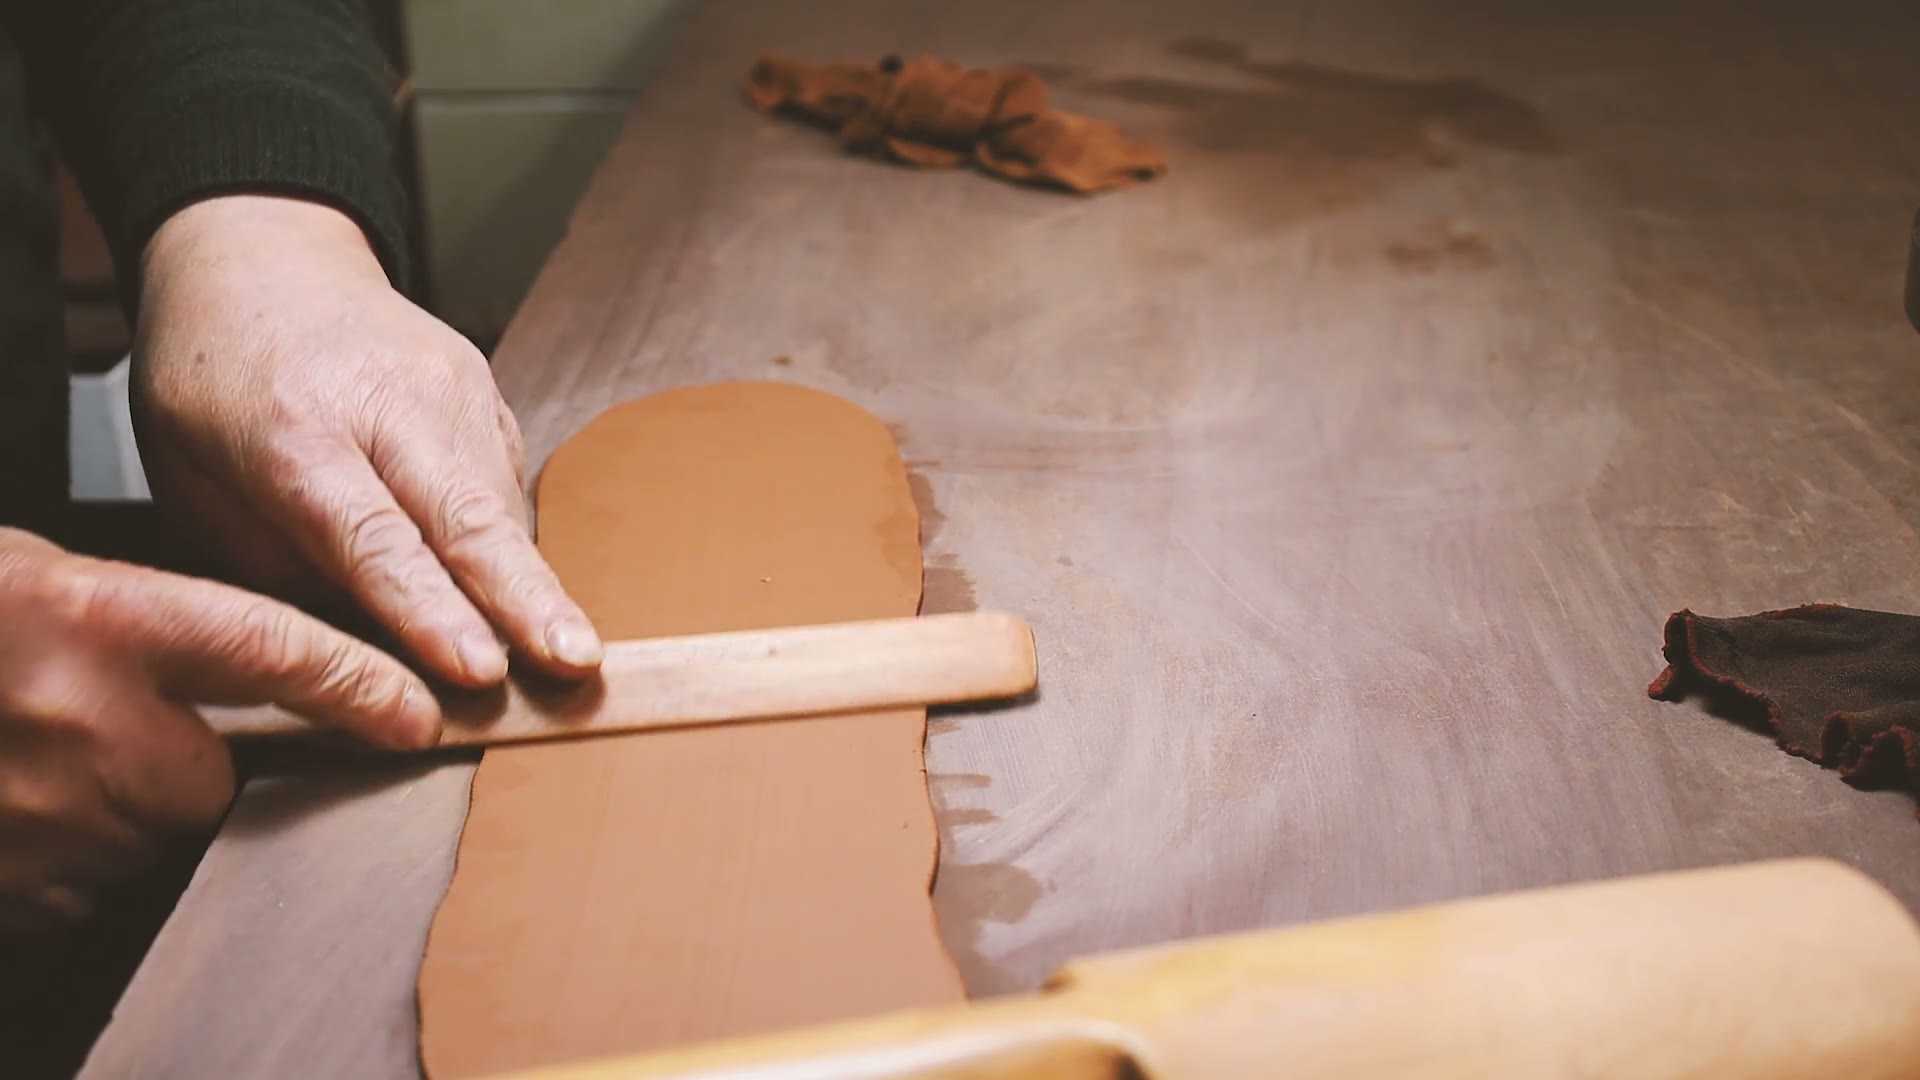
The clay sheet below makes the starting point visible. A flat wooden tool lies across a long strip of brown clay. Its broad face and edges are clear; it hasn’t yet become the wall of a vessel that encloses space.
The making also belongs to a family story. Wagon, a creator from Dingshan in Yixing, set out to record his father’s teapot work while he was a student of architecture.
In his account, his father continued making by hand at home, while the younger family member wanted to preserve that work and show others how it’s done.
I like that division of attention: one person knows the making, and another finds a way to make it legible. The prepared sheet gives the family account a concrete object to rest on.
05 / The guide
Slip casting: a pottery wall built from liquid clay
Slip casting begins with a different material condition: clay suspended in water, fluid enough to pour into a mold. In the absorbent plaster system explained by Digitalfire, water moves into the plaster and a clay layer builds against the cavity. For a hollow cast, surplus liquid drains away while that layer remains.
The wall develops where the slurry meets the absorbent mold. Its shape follows the cavity while water is removed through the plaster. That gives the mold a different role from supporting a sheet whose thickness already exists.
Digitalfire describes the casting slip as deflocculated, or water-reduced. That detail belongs to preparing a slurry for casting; it’s another reason to distinguish the process from putting a lump or sheet of workable clay into shape.
I find the wall’s beginning the clearest point of comparison. Was there already a clay sheet to lift and bend, or did a layer build from liquid inside a cavity? The answer explains more than whether the finished surface looks smooth.
Slip casting belongs beside the direct forming methods as a related route into ceramic shape. Hand work can occur in both processes, but that shared involvement doesn’t make their methods of building the wall identical. A mold’s presence is the beginning of the question, rather than its answer.
06 / The guide
From a handbuilt clay form to fired pottery
Direct forming produces a clay object that still has further work ahead of it. The choice of clay and the plan for firing matter alongside the way it’s built. A simple set of hand tools can shape a vessel, but it needs the appropriate kiln process to become ceramic.
For slab work, a rolling pin can flatten clay when a larger slab roller is unavailable; a cutting tool separates the pieces, and ribs help work their surfaces. Selecting tools around those jobs is more useful than treating an equipment list as the definition of handbuilding.
The clay also needs to remain workable during forming. Keeping unused clay covered preserves moisture, and joining requires attention to the surfaces that meet. Those decisions concern handling the clay before it enters the kiln.
The forming names describe how a shape is made; earthenware, stoneware and porcelain describe ceramic materials. A clay body and its firing requirements need to be considered together. Pinching or coiling doesn’t supply a kiln schedule by itself.
The porcelain material guide follows that material question. Surface treatment and firing continue the object’s history after its wall has been established.
Returning to the teapot, I have more to look for than a round contour. The broad clay sheet and the tool against the shoulder show different moments in making a wall. One begins with a flat piece of clay; the other works on a body that already encloses space.
Published · Updated